The installation process is one key area to consider before selecting an automatic horse waterer system .
While the goal of providing reliable and efficient water access for your horses is the same, the path to achieving this can vary significantly between horse watering systems. Each system will have different requirements and investments of time, cost , and labor for installation.
Let’s compare the installation of the Cascada (a contactless sensor automatic horse waterer) with the push paddle-style waterers.
Types of Automatic Horse Waterers Compared Here
- Push Paddle: These waterers work on the principle of force. Water is released into the drinking bowl or post when the horse pushes against a paddle or plate.
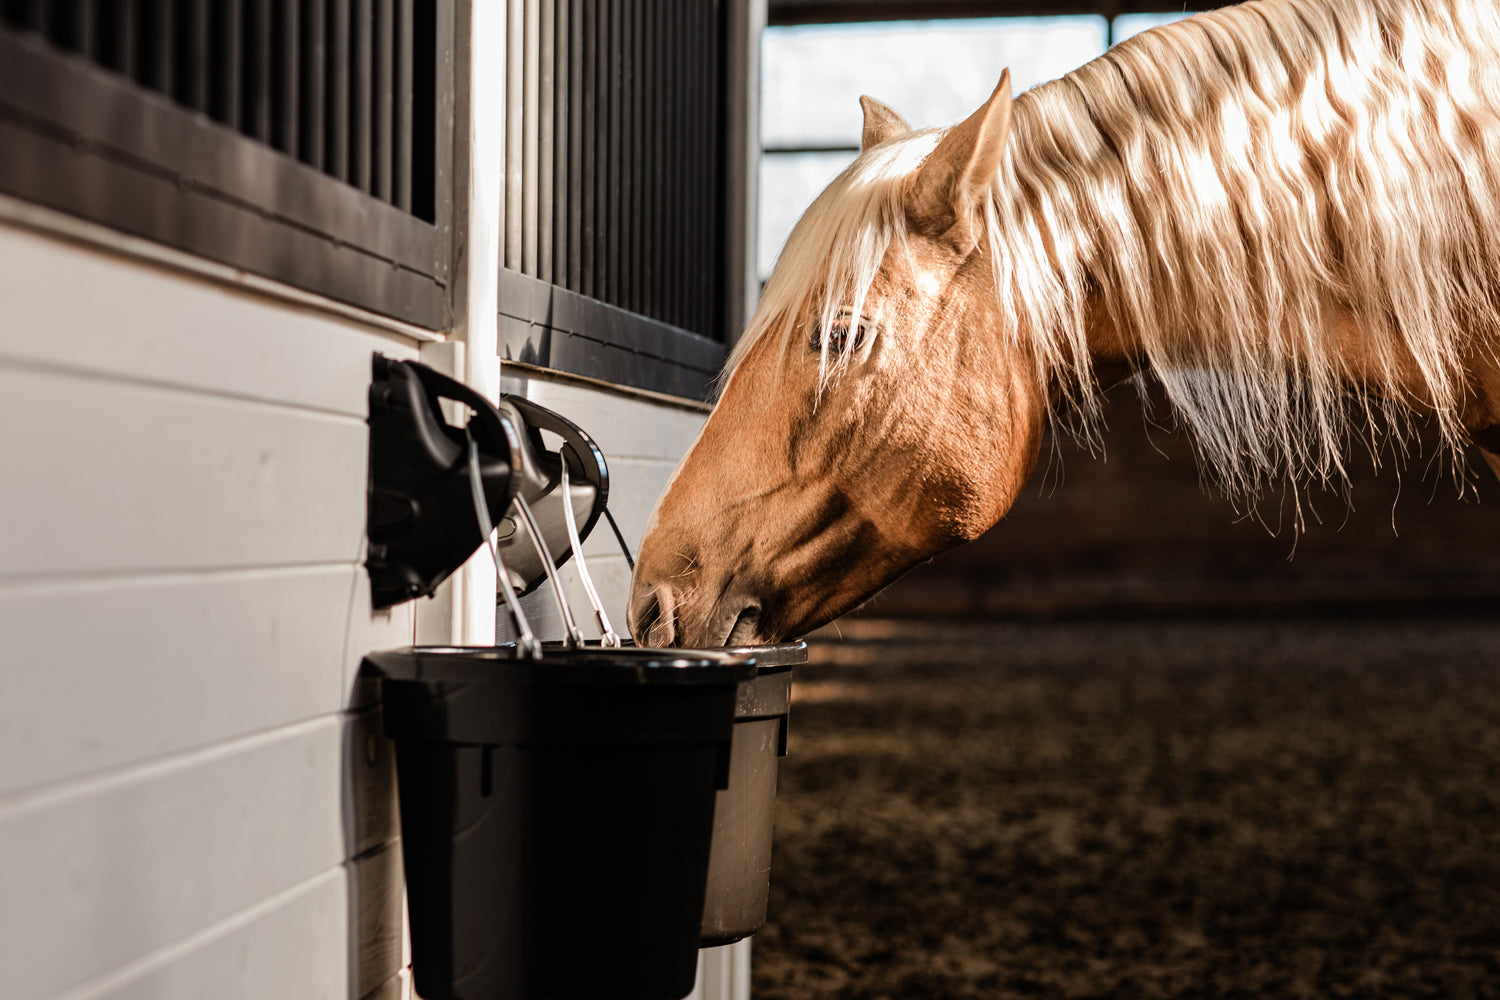
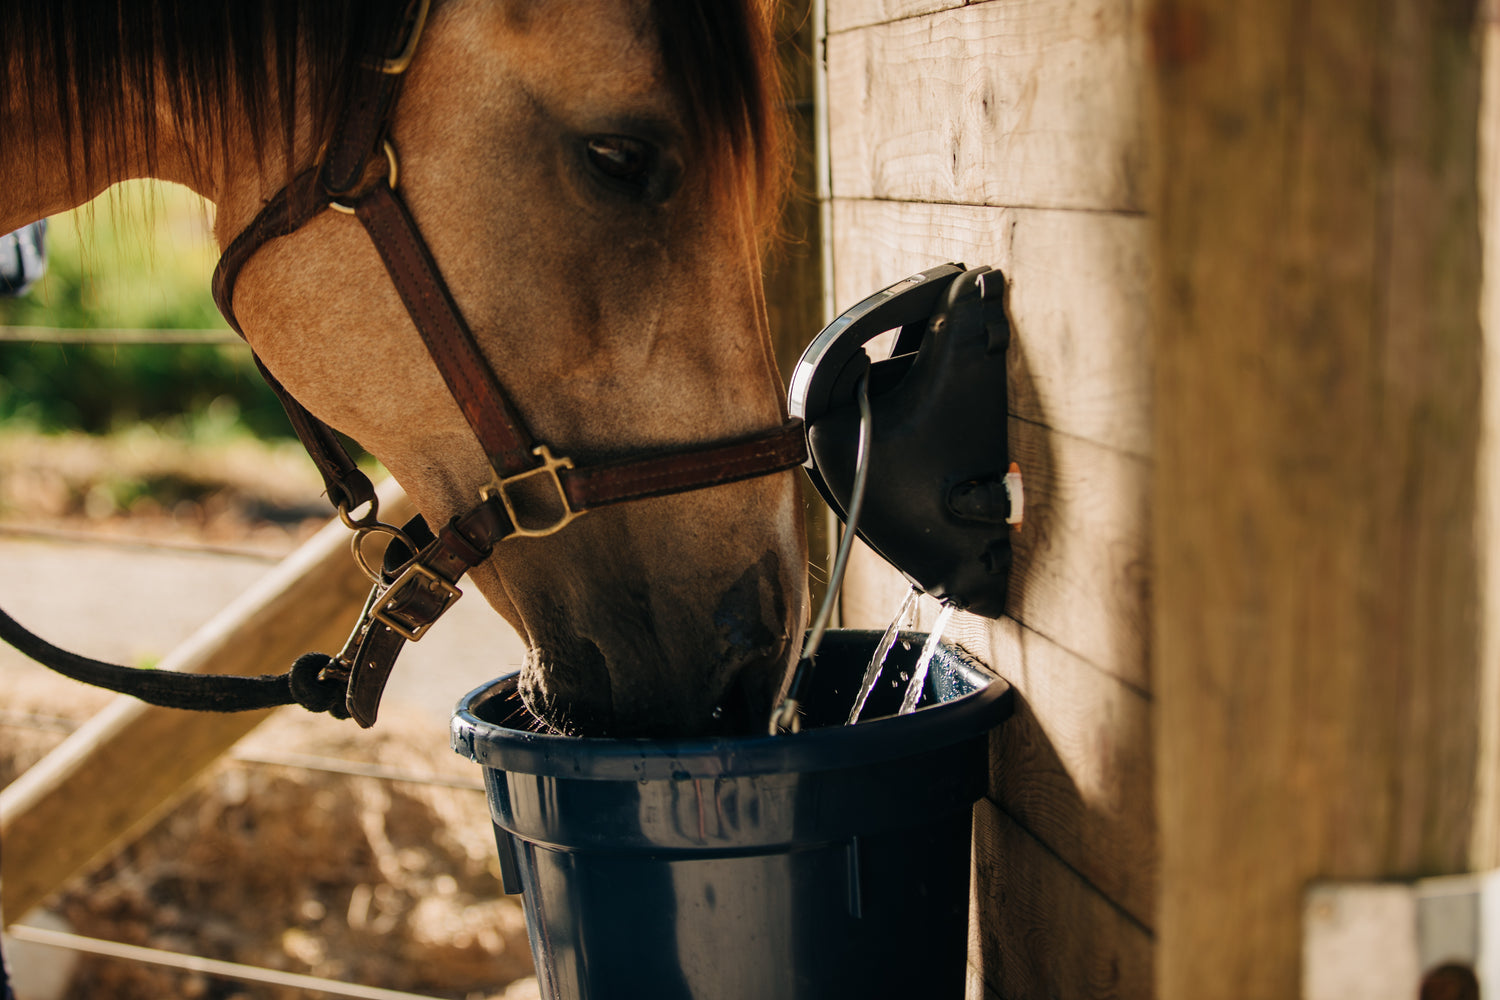
- Contactless Sensors: Cascada's automatic waterer uses a sophisticated sensor system to detect the water level in an attached bucket and eliminates the need for manual activation by the horse.
Key Installation Differences
The installation process of a push paddle system versus the Cascada Waterer has a few crucial differences that directly impact the ease, time, and cost of installation.
Push Paddle Waterer

Installing push paddle systems is labor-intensive and requires additional planning before you can begin installation.
- Installation involves site selection, excavation, creating a leach field, and setting up a pressurized water line.
- You may need to rent equipment like a trencher or hire professionals to properly set up the push paddle system.
Cascada Automatic Horse Waterer

Cascada’s automatic horse waterer installation is designed with simplicity and user-friendliness in mind.
- The process involves just a few steps: pressing the self-adhesive gasket to the wall, connecting a water line, running a low-voltage wire, and screwing the waterer to the wall.
- The mounting hardware is included to simplify the process further.
- All the tools you need are a cordless drill, 1/8" drill bit, level, and a #3 square drive bit.
Now, let’s examine the specific installation steps and considerations for both push paddle waterers and the Cascada Waterer .
This detailed breakdown will help you understand what to expect and prepare for when installing these systems and, ultimately, make the right choice for you, your farm, and your horse.
Installation of a Push Paddle Automatic Waterer

Step 1: Select the waterer’s location.
Carefully choose an installation location that is easily accessible for horses and close to a pressurized water line. Consider factors like the terrain, drainage, and proximity to stable areas.
The location is essential since the push paddle post cannot be moved easily after installation.
Step 2: Excavate the site.
Dig a hole where the system will be installed.
Depth: The base of the waterer should be installed at least 18 inches below the local frost line.
The frost line — or the maximum depth at which the ground freezes in winter — varies depending on your location. So, checking local codes or consulting a professional for accurate information is important.
This depth is essential to prevent the water from freezing during colder months.
Width: The hole's width should accommodate the waterer's size and provide enough space for easy installation and future maintenance.
While the exact width can vary based on the model, a general guideline is to ensure a few inches of clearance around the waterer.
Refer to the installation guide provided with your specific waterer for the most accurate measurements and instructions.
Step 3: Install the base.
Place the base of the waterer into the hole.
It should sit firmly and be aligned according to the manufacturer's instructions. The correct positioning is crucial for the system's functionality.
Step 4: Attach the pressurized water line.
Attach the waterer to your pressurized water line.
This step requires careful attention to ensure a secure connection to avoid leaks. Follow specific instructions provided by the manufacturer for this process.
Pressurized water line
If you do not have a pressurized water line setup that extends to your push paddle waterer, you will need to install one before you can finish the installation.
Here is a brief step-by-step process to complete this task:
- Identify a suitable water source to connect to.
- Plan the route from the water source to the location of the waterer.
- Dig a trench along the planned route.
- Choose appropriate piping for your water line.
- Lay the pipe in the trench, connecting it securely to the main water supply.
- Insulate the water line to prevent freezing in colder climates.
- Backfill the trench after the pipe is laid and connections are tested.
- Connect the other end of the pipe to the automatic horse waterer.
- Install a shut-off valve near the waterer for easy maintenance and emergencies.
- Turn on the water and check the system for any leaks.
Step 5: Assemble the water post.
This typically involves attaching the paddle mechanism, turning on the water supply, and securing the waterer to its base.
Follow the manufacturer’s instructions for more detailed information on the assembly process.
Step 6: Test the system.
Test the waterer by activating the paddle mechanism.
Check for proper water flow and ensure the system stops and starts as it should. This step is critical to confirm that everything is working correctly.
Step 7: Backfill and level the ground.
Once the base is in place and connected, fill the hole with soil, packing it firmly around the base for stability.
Level the ground to prevent water pooling and ensure easy access for horses.
Step 8: Create a drainage system.
Install a drainage system or leach field around the waterer to manage excess water since push paddle systems typically include a mechanism where water used by the horse drains out after each use.
The drained water must be effectively managed to prevent muddy conditions or ice buildup in colder climates.
The different methods to set up drainage depend on factors like soil type, climate, and local regulations. It's advisable to consult with a professional or refer to the manufacturer's guidelines for the best drainage solution for your specific installation location.
Here are two possible solutions:
Leach Field: A leach field, also known as a drainage field, is a network of perforated pipes laid in gravel-filled trenches in the soil. The drained water from the waterer disperses through these pipes and is absorbed by the soil. This method is effective in areas with good soil absorption.
Dry Well: In cases where the soil doesn’t absorb water well, a dry well might be a better solution. A dry well is a large, underground tank that collects the drained water and slowly releases it into the surrounding soil.
Additionally, in colder climates, the drainage system must ensure that the water is directed away from the waterer and doesn’t freeze. This can damage the system or create hazardous conditions for the horses.
Installation of Cascada Automatic Horse Waterers

The installation process for Cascada is designed with convenience in mind.
Since no excavation is required, we skip step 2 in the above section. We can also eliminate steps 7 (backfilling) and 8 (creating a drainage system) and move straight to installation.
Step 1: Confirm the Cascada’s location.
- Ensure it is on a flat, sturdy surface in your barn to prevent bucket tilt.
- Confirm a power supply is located within 100’ of the unit.
- Water lines can be routed from various directions and connected from inside or behind the wall.
Step 2: Unbox and configure
The Cascada requires a small amount of configuration, but it is simply done by attaching the brass inlet fitting and insulation kit to the valve.
- Wrap the brass inlet fitting with pipe tape and attach it to the solenoid valve.
- Wrap the insulation around the tee fitting in the valve assembly.
- Secure the insulation with zip ties to the elbow fitting.
Step 3: Apply the gasket to the wall.
- Measure, level, and mark the installation height.
- Peel off the backing and stick the self-adhesive rubber gasket to the wall. You may now use it as a drill template to pre-drill the holes for your fasteners.
Cascada Installation Video Demonstration
Step 3: Attach the assembled valve.
- Connect the valve assembly to the water line.
- Check the water pressure and ensure no leaks are present.
- Attach the assembled value to the gasket and wall.
Cascada Installation Video Demonstration
Step 4: Align and attach the enclosure cover.
- Check the alignment of the valve assembly and adjust as needed.
- Position the Cascada enclosure cover over the assembled valve system.
- Connect the electrical connections between the valve and enclosure.
- Close the enclosure and screw it to the gasket and wall.
Cascada Installation Video Demonstration
Step 5: Connect the power.
Each Cascada device includes a separate power supply unit for converting high-voltage to low-voltage power. A low-voltage power supply cable is also provided with the Cascada, which connects the device to the power supply's low-voltage output terminals.
- Install the power supply unit in a dual-gang junction box by a certified electrician.
- Connect the low-voltage power supply cable to the Cascada device.
Cascada Installation Video Demonstration
Step 6: Turn the power on and hang your water bucket.
After turning the power on, hang a bucket to verify the filling mechanism works correctly.
Refill and dump the bucket several times to ensure the water line is sufficiently flushed out. That’s it! Your waterer is now ready for your horse to enjoy.
Deciding on Automatic Waterers

When selecting an automatic horse waterer , the installation process is a crucial factor to consider.
Ultimately, choosing the right system depends on your specific needs, resources, and preferences for convenience.